In one of my earlier posts I was testing out ways to make the joints for the cabinet doors.
It didn't go so well. What I learned is that I really didn't have the right bits for making these joints. So, for my birthday, my sister (thanks again) bought me a set of
stile and rail bits made for this purpose:
There's plenty of stile and rail sets out there but most have a 1/2" shank and require a high-powered router (my router can only use 1/4" shank bits). The above set were from
Amana Tool. Despite the troubles I'm about to describe the bits worked great, and my frustrations were due to operator error more than anything else.
First Attempt
Everything was going great. I had cut the wood to length, made the decorative edges and made the rabbet on the back side which would eventually hold the glass.
 |
| First Attempt: Stiles and Rails |
All I had left to do was to make the end cuts on the rails so that they would nest with the stiles. This was my
fatal mistake. As I discovered, when making an end cut with a router, as the bit exits the wood it has a tendency to tear out, destroying the edge:
 |
| No longer a nicely finished edge |
One after another, no matter what I tried, the edges of the rails were ruined. This was probably the most frustrated I've been in awhile. After thinking I was so close to being done with the doors I had to start over. I decided to take a week off so I could come back into it with a clear head.
Second Attempt
Giving myself a week off really helped. I thought a lot about the process and came up with a new cutting order to hopefully solve the problems of my first attempt. I also decided to start from scratch rather than reusing the stiles because I hadn't really focused on making everything square. That would be another big disappointment if, at the end, everything didn't fit together correctly.
Here's the order of steps I came up with:
- Cut the stiles and rails to slightly more than the desired length
- Plane the edges to help make each piece square
- Cut the stiles and rails to the exact length, square
- Route the decorative edge on the stiles
- Route the rabbet on the stiles
- Route the end cuts on the rails
- Route the decorative edge on the rails
- Route the rabbet on the stiles
A couple of notes on the various steps:
Step 2: I didn't have a planer or jointer so I used the idea from Spielman's,
Router Basics and used the router as a jointer
. I had to make a fence for the routing table specifically for this purpose as it involves fixing a sheet of acrylic on half of the fence (I used double sided tape).
 |
| Fence for jointing |
By using this fence the wood is trimmed by a small amount (the width of the plastic) with each pass. I had mild success with this but I found the hardest thing was getting the fence to be in the exact right position.
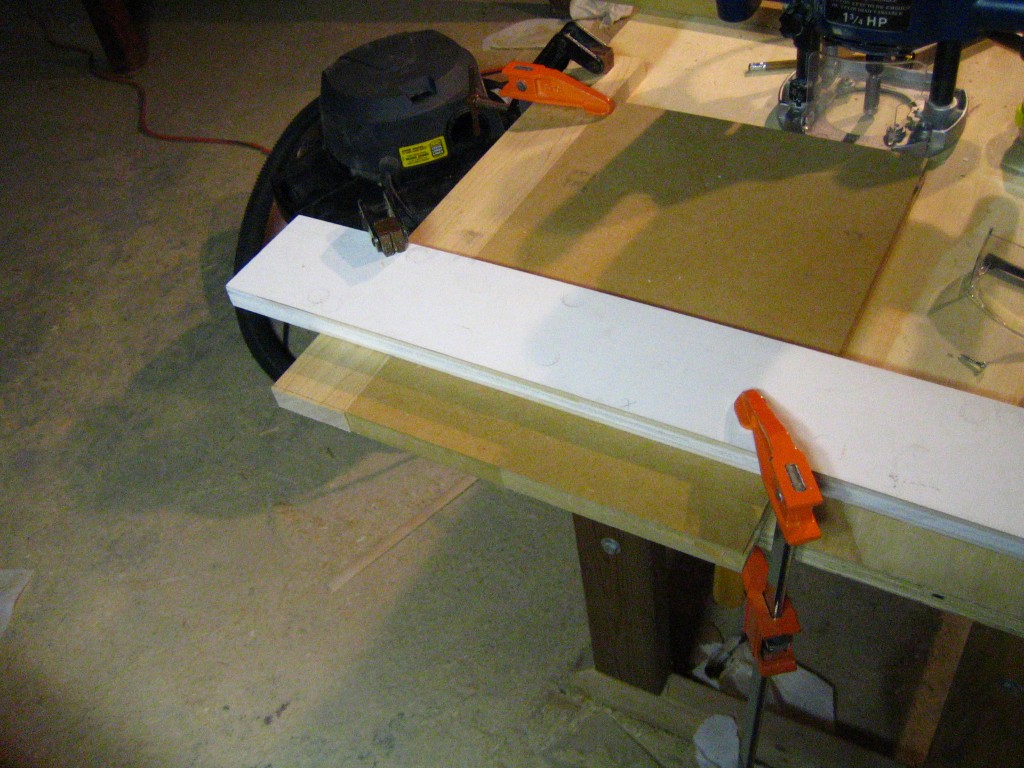
Step 3: I had a hard time making cuts square with the router. I'm sure there must be some jigs or other tools out there that excel at this, but I wanted to try to do it with just the tools I had. Here's what I came up with:
 |
| Jig to help make square cuts |
 |
| Lining up the cutting line with the MDF guide |
I used a piece of MDF that I made square by very carefully measuring and cutting. Then I clamped the piece I wanted to cut up against the MDF while lining up my cutting line with the edge of the MDF. Finally, with the help of a flush trim bit, I clamped the guide for the router on top of that making sure the bearing on the bit came into contact with each end of the MDF while the router was riding against the guide. Needless to say it was tedious making these cuts, but worth it in the long run.
Step 4:
Step 5:
Step 6: By routing the end cuts on the rails before doing the other edging I could prevent the tear out. For one, there would be a lot more wood to help hold it together but more importantly, I could hold it against a piece of MDF as I was cutting. The idea here being that the bit would pass cleanly through the wood into the MDF as if it was one contiguous piece, reducing tear out.
Sadly, I forget to take pictures mid-process but here's the finished rail:
 |
| The completed rail, NO TEAR OUT!! |
Finally, the end result:
 |
| Assembled Frame |
 |
| Stile meets Rail |
 |
| Back side with the glass in place |
So I guess it's true, we learn the most from our mistakes. I was so incredibly frustrated but taking a break and starting over was definitely worth it.
At this point I *think* all the major stuff is done. There's a ton of little things though, so I'm working on making another list to help keep me focused on finishing this.